

This allows connection to a second transmitter operating as a backup, or alternatively, to a transmitter used during nighttime.
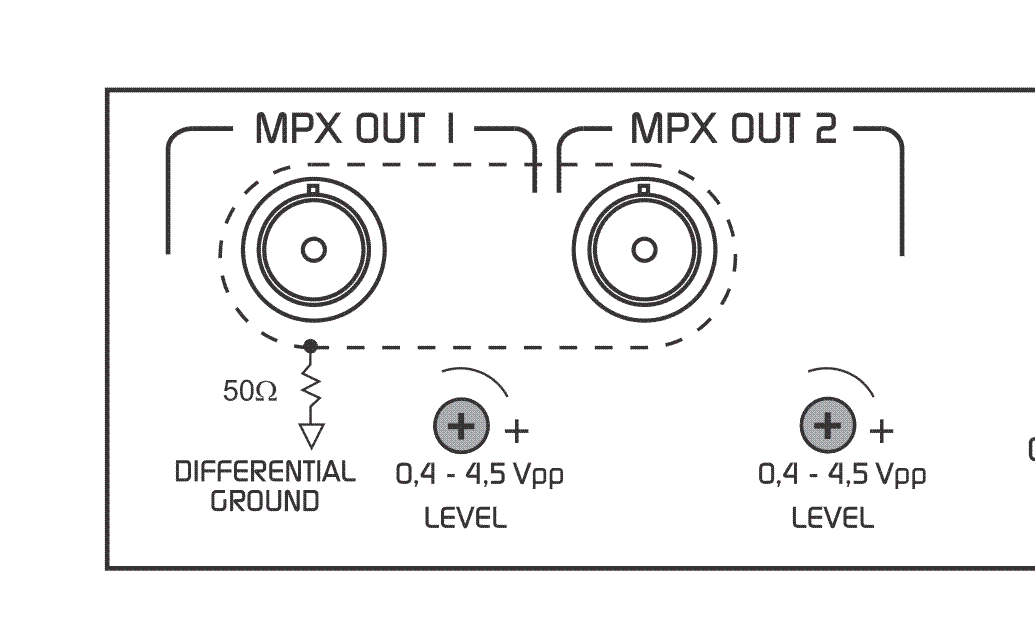
- The output connectors are of the BNC type.
- For MPX connection, 75 Ohm coaxial cable (CCTV standard) must be used.
- The cable length should not exceed 25 meters.
When connecting to the transmitter via the MPX input, ensure that the transmitter’s internal pre-emphasis network is disabled (flat response 20 – 100 kHz).
The pre-emphasis in the Audimax 362HD is factory-set, with the option to choose between 50 µs or 75 µs.
Modulation Adjustment to 100%
Modulation is adjusted by varying the MPX output level of the unit.It’s recommended to use program material with loud voice and music (example: contemporary pop).
1
Prepare the input signal
- Ensure you’re using the appropriate inputs (BAL/UNBAL) according to the console.
- Adjust the audio level on the console to reach 0 VU on peaks.
- This way, the AGC stage operates at its equilibrium point.
2
Configure the processor and transmitter
- Set all processor controls to center position.
- If the transmitter has modulation level control, set it to maximum.
3
Adjust MPX output
- Vary the 362HD’s MPX output level until achieving 75 kHz deviation (100%), measured with an FM modulation monitor or the transmitter’s indicator instrument.
Some countries permit occasional peaks up to 110% modulation (example: FCC regulations in the USA).
Needle-type modulation indicators may show peaks above 100% due to ballistic overshoot or average sine wave readings. This doesn’t indicate actual over-modulation in the system.
Needle-type modulation indicators may show peaks above 100% due to ballistic overshoot or average sine wave readings. This doesn’t indicate actual over-modulation in the system.
This process doesn’t affect the modulation level, as the processor delivers constant peak level.